A Simple BLE “Explorer” App
Blue Van Clef is a simple BLE “discovery” app. It’s designed to be as simple and accessible as possible.
Blue Van Clef has also been specifically designed for use by people with visual challenges, or who prefer to use audio cues. It supports Apple’s VoiceOver Mode and Increased Contrast Mode.
iOS App
Initial Startup
The first time that you start the app after installing it, you will be asked for permission to access the Bluetooth system of your device:
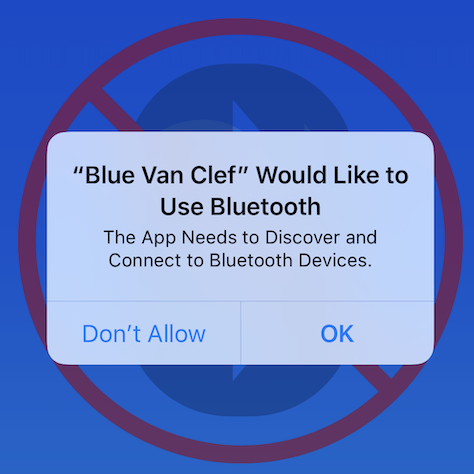
Note the icon in the background. If you refuse permission, or the device does not support Bluetooth, you will see a “No Bluetooth” icon as a background, and you won’t be able to use the app.
The Initial Screen
This is the screen that is displayed upon starting the app, and after giving permission to use Bluetooth.
 Scanning Enabled |
 Scanning Disabled |
The Scanning Button
At the top of the screen, is a green (or red) button. This indicates the current state of the app.
If it is green, then that means that the app is actively scanning for Peripheral devices, and will discover new devices. If the setting is enabled for Continuous Update, then the values of the timestamps and signal strength will be updating constantly.
If it is red, then scanning has been paused, and the device list will not change or update.
In order to toggle the scanning state, touch that button.
Each Device Entry
Each row of the table represents one discovered BLE device.
The Device Name
If the device has a name (either assigned to the device, or advertised), it is displayed in the upper left corner. It is possible for devices to have no names. In some cases, “no-name” devices may update this after connecting.
The Signal Strength
In the upper right corner, is the signal strength of the device, in decibels. It is possible to filter out devices that have weaker signals. The app will not detect devices at lower than -100dBm.
The ID
The next line is a unique, permanent ID for the device. This is a standard UUID format, and can be used as a “filter” (more on that, later).
Can Connect
If the device can connect, then the “Can Connect” line will indicate “true,” and the row will be displayed in bright white text. If the device cannot be connected, it will be displayed in a “grayed-out” text:
 Connectable Device |
 Unconnectable Device |
It is possible to filter for only connectable devices.
NOTE: Just because a device says it can be connected, doesn’t necessarily mean that you’ll always be able to connect. Some devices require certain levels of security to connect, or may be at too weak a signal level to connect.
Additionally, Core Bluetooth will not always remove devices that are no longer available. It’s entirely possible that a device will not be around to be connected.
Pull To Refresh
You can always do the classic “Pull to Refresh,” where you pull down on the table, clearing the list, and starting discovery over again.
The order of the devices may change, when you do this. Also, any ignored devices (more on that, shortly) will be restored.
Editing
You can edit the table, which basically just means that you can “ignore” devices.
In order to edit the table, you need to stop scanning.
Once you stop, there will be an “Edit” link, just to the right of the table header:

If you are not scanning, then you can do a simple “left-swipe” on a row to delete, or touch the Edit button, which will give you this screen (NOTE: Dark Mode Screen Shown):
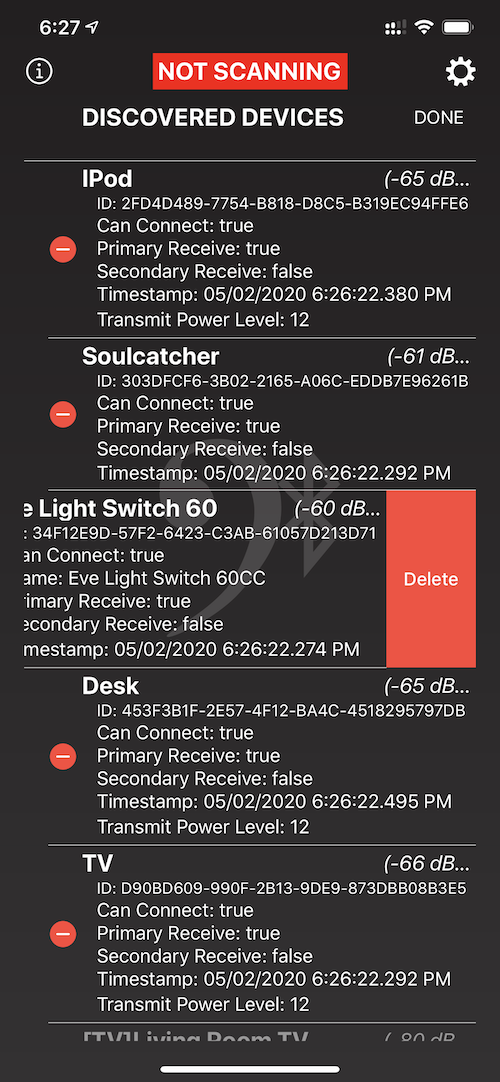
Once a device has been “deleted,” it is simply ignored, thereafter; even when you restart scanning.
When you do a “Pull to Refresh,” or open the Settings Screen, it will restore ignored devices.
Once you are done editing, tap on the “Done” button, and the screen will return to normal mode.
Connecting To Devices
Tapping on a connectable row will connect to the device, and bring in another screen that will display the device Services.
The Device Info Screen
Once the device has been successfully connected, you will be presented with a screen that looks like this:
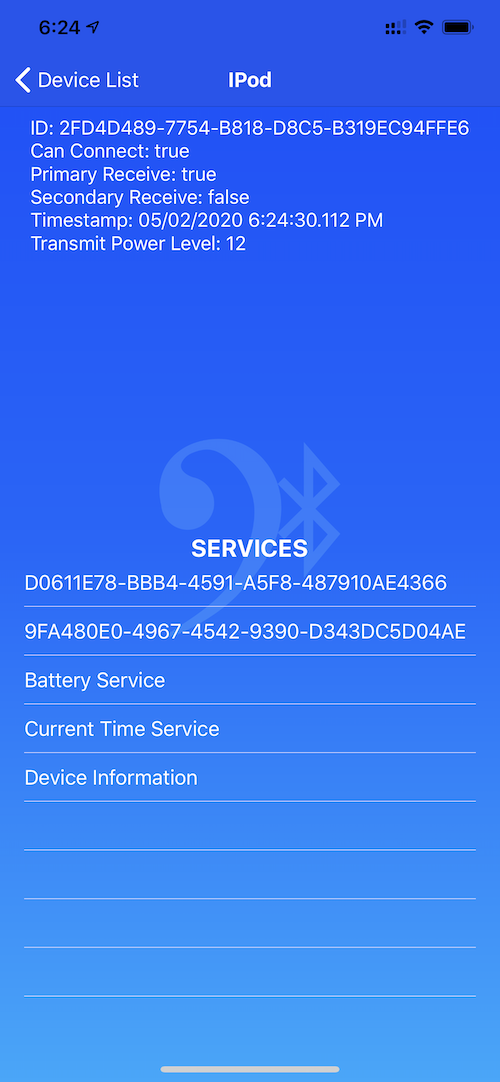
At the top, you will see the advertisement information. Below that, will be a table, with the available Services for the device. If the Service is a standard GATT Service, then it will be shown as a string. If not, it will be displayed as a UUID.
Displaying Service Characteristics
Assuming the Service has Characteristics (which is required), the Service row can be tapped, which will bring in the Service Info Screen.
The Service Info Screen
 Standard Characteristics |
 Custom Characteristics |
This displays the Characteristics for the Service. Again, if the Characteristics are standard GATT Characteristics, they will be displayed as strings. Otherwise, they will be displayed as UUIDs.
If the Characteristic has Descriptors, you will be able to tap on the row, to view them.
There will be a row of labels and/or buttons, just below the Characteristic ID.
The bottom line will display any value that can be interpreted by the app. It may remain blank.
Reading
One of the buttons will be “READ”. If the Characteristic can be read, then tapping on this will trigger a read, and the value will be updated once. The Characteristic is not automatically read when the screen is loaded, so the value row may initially be blank (not always, though).
Notifying
If the Characteristic allows notify, then a red “NOTIFY” button will be displayed. Tapping on this toggles the notify state of the Characteristic, and the value may be updated.
Writing (With or Without Response)
The other possible values are not buttons, but are labels.
If the Characteristic can be written, then it will have either a “WR” or “WN” label. “WR” means “Write With Response,” and “WN” means “Write Without Response.”
Broadcasting
If the Characteristic can broadcast, the a “BR” label will be shown.
Indicating
If the Characteristic can indicate, then an “IN” label will be shown.
Auth Signed Writes
If the Characteristic requires that writes be authorized and signed, then an “AW” label will be displayed.
Encrypted Notify
If the Characteristic requires that notifications be encrypted, then a “NE” label will be displayed.
Encrypted Indicate
If the Characteristic requires that indications be encrypted, then an “IE” label will be displayed.
Extended Properties
If the Characteristic extended properties, then an “EX” label will be displayed.
The Characteristic Info Screen
Touching a Characteristic row with Descriptors will bring in this screen:
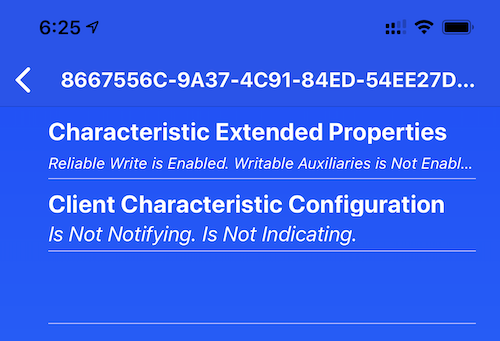
This displays Descriptors. Touching a Descriptor row will update its value.
If the Descriptor is a GATT-standard Descriptor, it will be displayed as a string. Otherwise, it will be displayed as a UUID.
Some standard Descriptors may be able to be parsed, and their values displayed in an interpreted manner.
Sending Text
It is possible to send simple text to devices. This is, by no means, a comprehensive capability, but can be useful in devices, such as OBD adapters, which implement a standard serial protocol over Bluetooth.
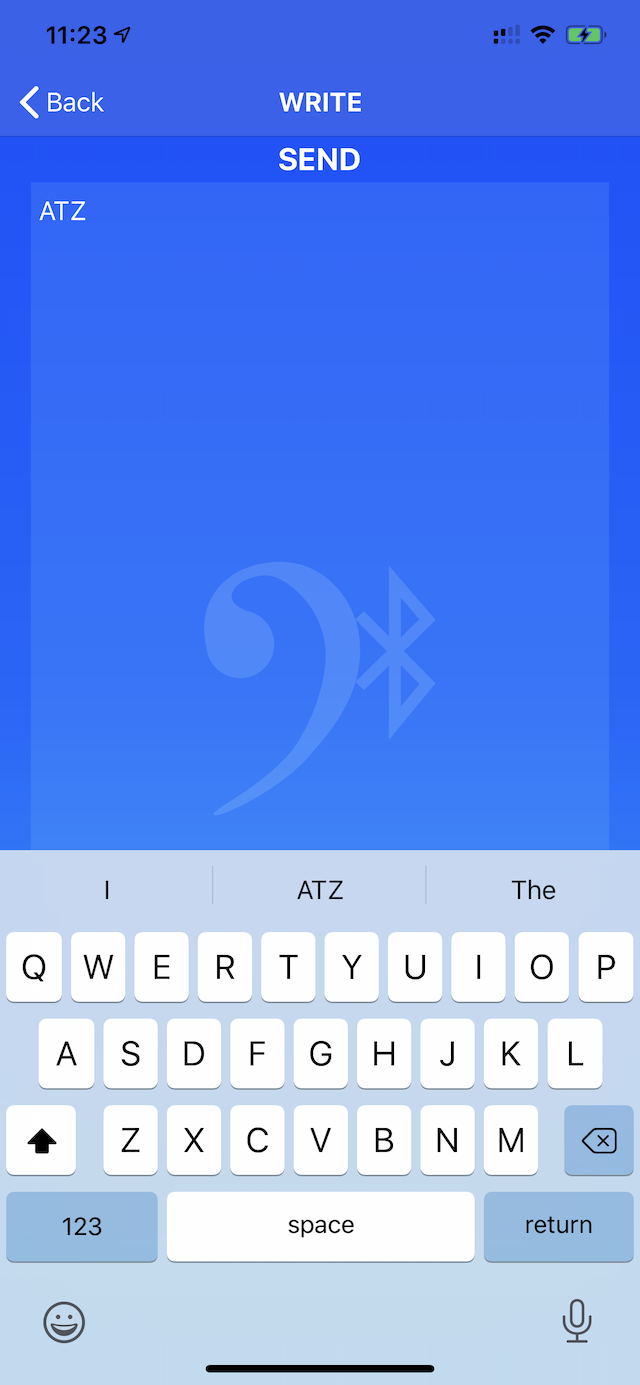
At the bottom of some Descriptor screens, there may be a “WRITE” link, or tapping on a Characteristic or Descriptor row in the table may bring it up.
This allows a simple text entry. If the Settings “Always Use CRLF” is on, then returns will be sent as full CR/LF pairs. Otherwise, they will be sent as simple Carriage Return (CR) characters.
The Settings Screen
At the top, right of the Initial Screen is a “gear” icon. Touching this will bring up a modal screen that allows us to set various preferences:
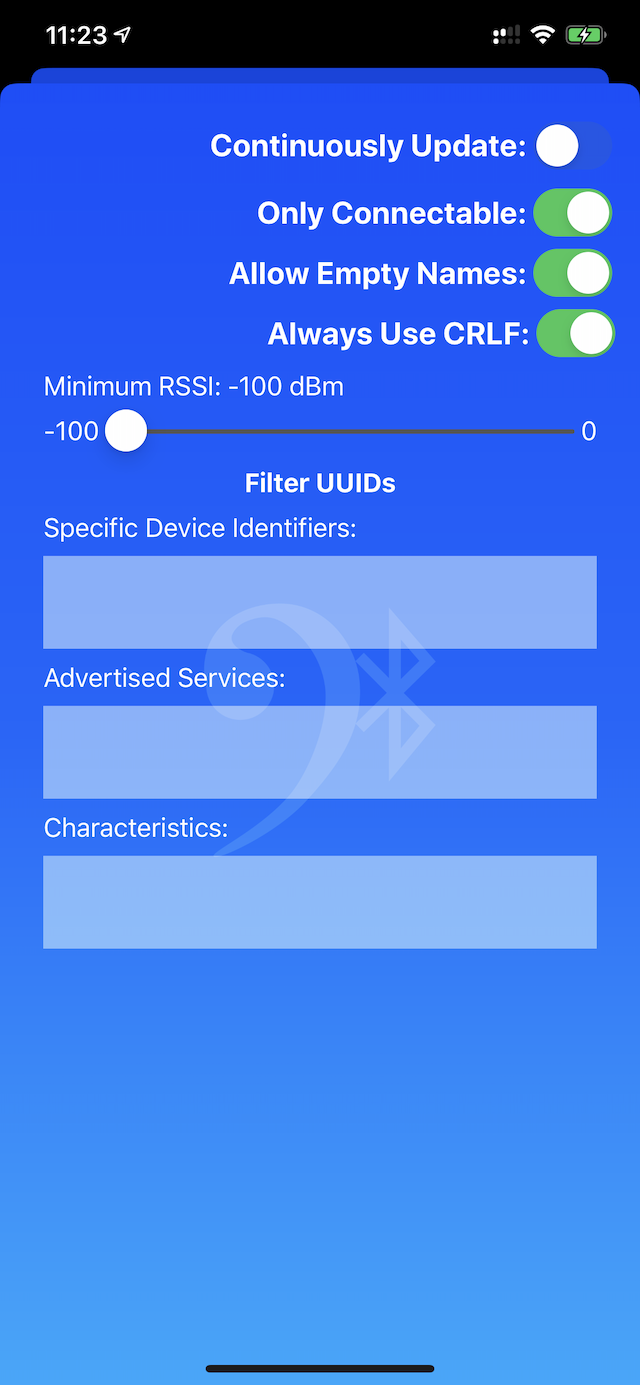
Scanning is paused while this screen is up, and will restart “from scratch” upon return (which means that ignored devices will be re-found). If the app was not scanning before, it will not be restarted.
Continuous Update
If this switch is ON (Default is OFF), then the scanning will continuously update devices. This means that their timestamp and signal strength indicators will likely change regularly. It also means that the table will be a little less performant.
Only Connectable
This switch, if ON (Default is OFF), will filter so that the only devices shown, are ones that advertise that they are connectable.
Allow Empty Names
This switch, if ON (Default is OFF), will allow devices that don’t report or advertise a name, to be displayed.
Always Use CRLF
This is for sending text to devices. If it is on, then any return/linefeed will be sent as the full CR/LF pair, which is common in serial interfaces. Otherwise, sending text will use simple Carriage Return (CR) characters.
Minimum RSSI
This is a slider that allows you to set a minimal signal strength level. Any devices that report a lesser RSSI will be ignored.
Filter Text Fields
These three text fields allow you to enter UUIDs (They must be UUIDs, not the String representations) of individual devices (the ID line), Services, and Characteristics.
For devices, any device that is not on the list will not be displayed.
For Services, this applies only to advertised Services. It will not be applied to Services that are only available, once connected.
For Characteristics, it will mean that the Service Info Screen will be filtered, to display only the Characteristics listed.
Watch App
Blue Van Clef’s iOS app will also install a Watch app.
Initial Startup
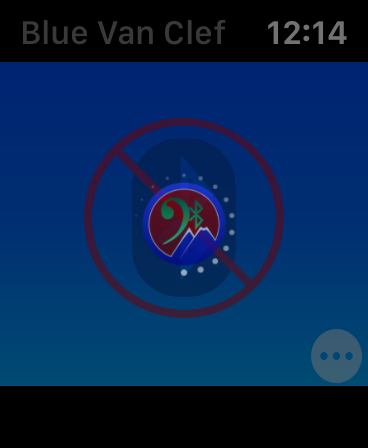
Upon starting up the app, you will see the Blue Van Clef icon, surrounded by a busy throbber:
Scanning
and then you will likely be asked for permission to use the Bluetooth subsystem (say “yes,” or the rest of this page is worthless), followed by the “Scanning” Screen:
 |  |
If you activate the “Scanning” switch, the app will begin to list the names of nearby discovered BLE devices.
Settings
If you touch the little “More” icon, in the lower right of the screen, it will bring up the Settings Screen:
 |  |
These settings are a subset of the ones described above, in the iOS section.
Out of necessity, the Blue Van Clef for Watch app is a lot simpler, and less powerful, than the iOS version.
Device Discovery Information
If you tap on a device name, in the Scanning Screen, you will be shown the discovery information for that device:
 |  |  |
Connecting
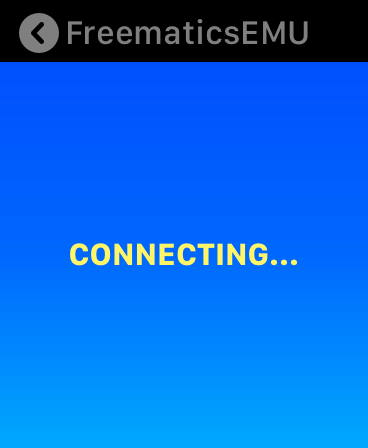
If the device allows connections, a “Connect” button will be displayed at the top of the Details Screen. Touching this button will initiate a connection to the device, and you will be shown a “wait” screen:
Services
After which, you will be shown a screen, listing the available Services on the device:

Characteristics
Tapping on one these Services will bring a listing of available Characteristics for that Service:
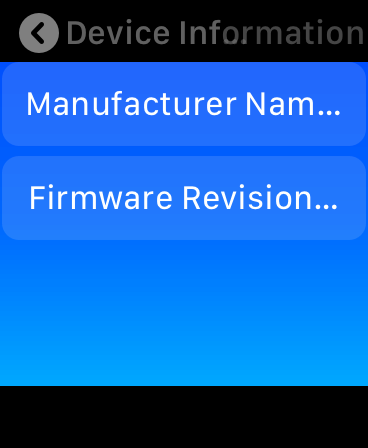
Standard Characteristics and Services will be listed by their GATT names. Otherwise, they will be displayed as UUIDs.
 |  |  |
If there is a value for the Characteristic that can be displayed as a string, it is displayed at the top. If the Characteristic can be read, then touching the READ button will bring in any value. You can also switch on Notification.
You cannot write with the Watch app.
 |  |
Descriptors

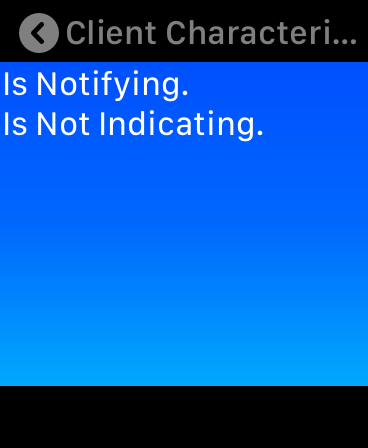
The dark blue buttons at the bottom are Descriptors. Touching them will bring in a Descriptor Details Screen:
Complications
Blue Van Clef includes a number of complications that can be added to Watch faces. These are simple buttons to invoke the app:
 |  |
 |  |
The TV App
Blue Van Clef has a version of the app for Apple TV. This version does not include the ability to send text to devices (mostly because of the difficulty in creating text on the TV).
Initial Startup
Upon starting the TV app, you will be presented with a screen that has a 3-segment switch at the top:
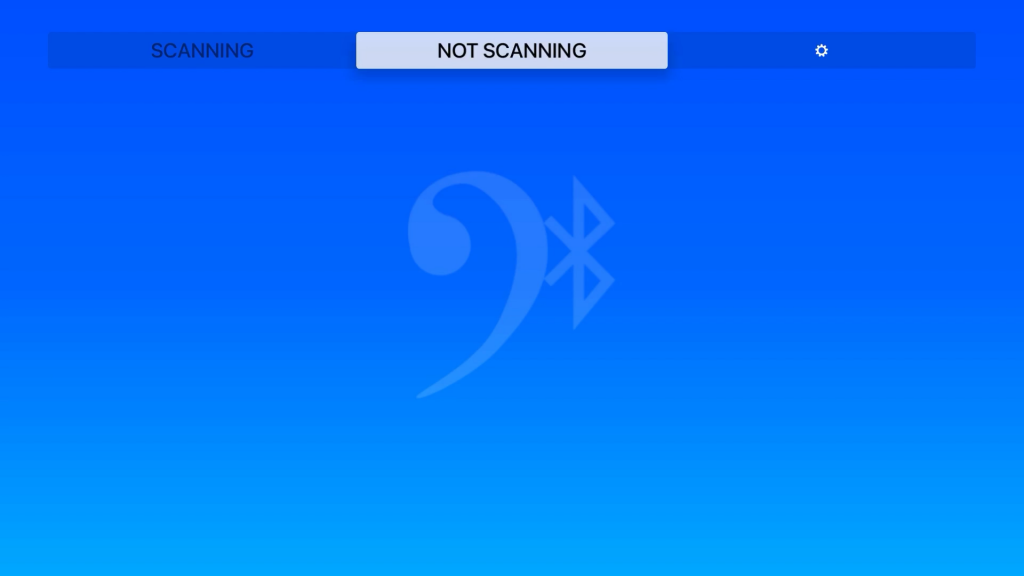
“NOT SCANNING” will be selected, and you are likely to see no devices listed.
If you switch to “SCANNING,” you will see a list of devices appear, as they are discovered:
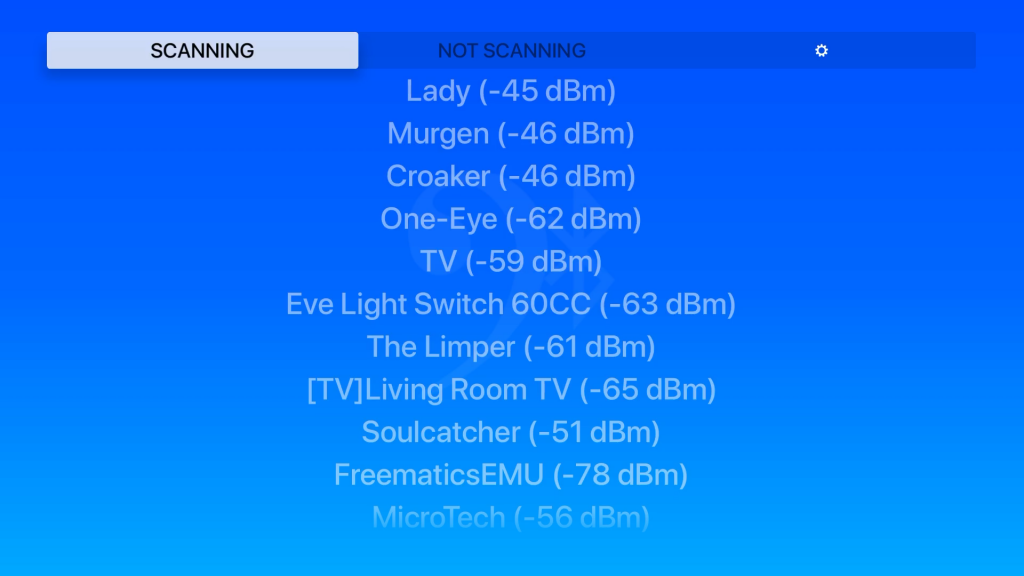
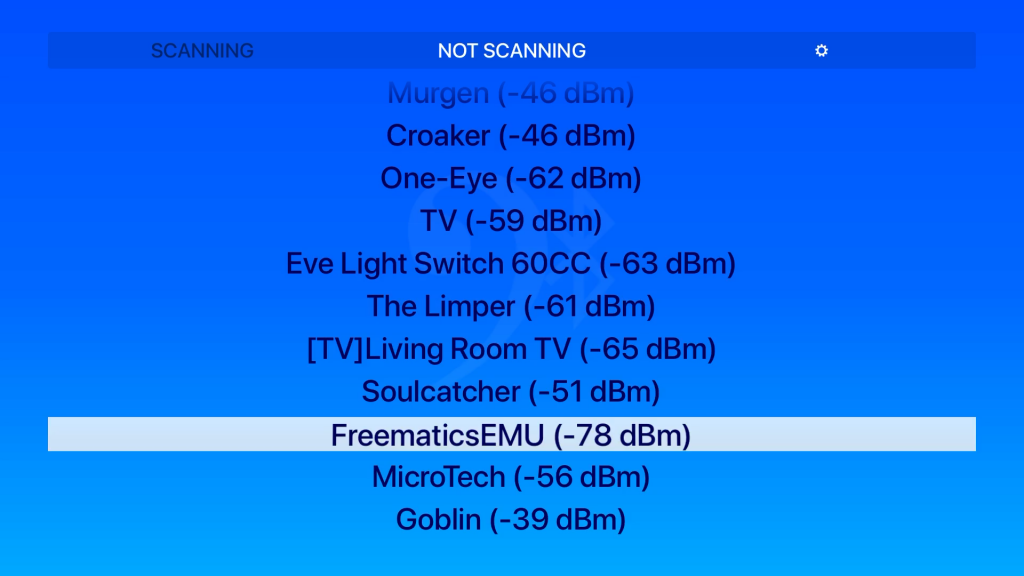
Note that the Peripherals are not enabled while scanning, and can’t be selected. If you then switch back to “NOT SCANNING,” these Peripherals will become enabled, and you will be able to select one:
Selecting that Peripheral will bring in a screen, with the Peripheral’s discovery information:
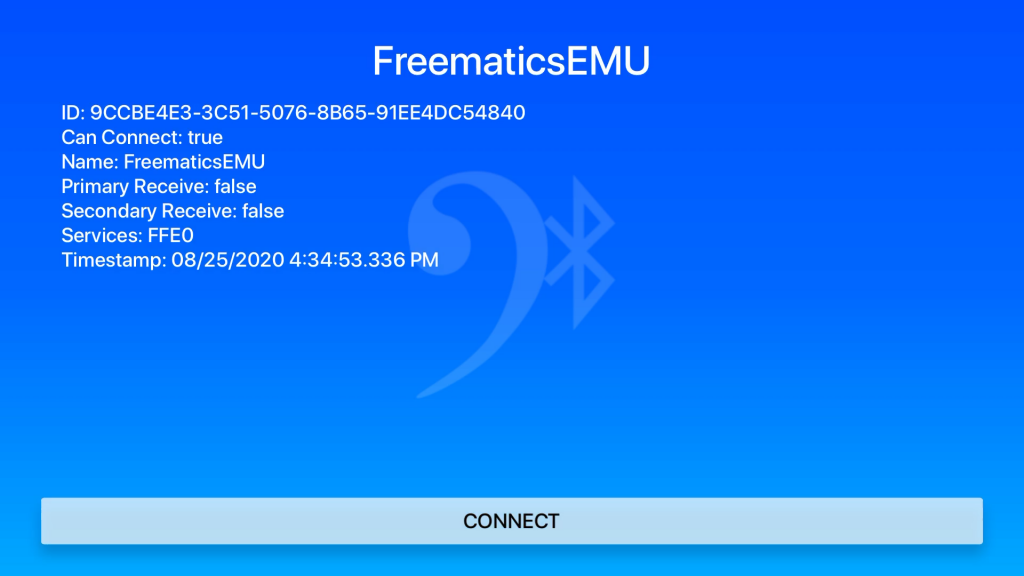
If it is possible to connect to the Peripheral, there will be a big “CONNECT” button, along the bottom of the screen.
If you engage this button, another screen will appear. It will have a “busy indicator,” while connecting, followed by a list of available Services for that Peripheral:
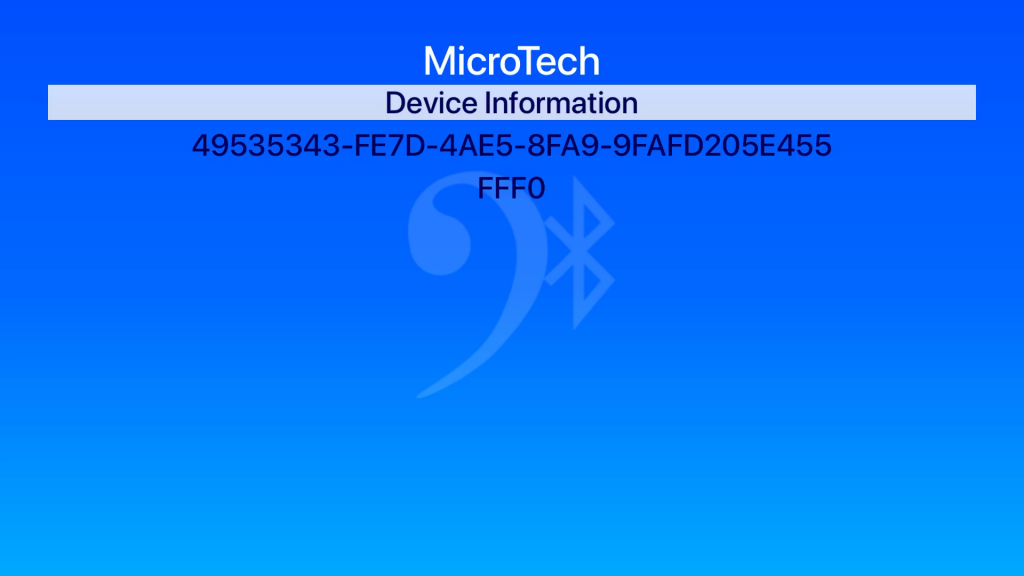
If the Service is a known/standard Service, it may be indicated by the common name. Otherwise, it will be displayed as a UUID String.
Selecting one of these Service lines will bring in another screen, with the Characteristics for that Service:
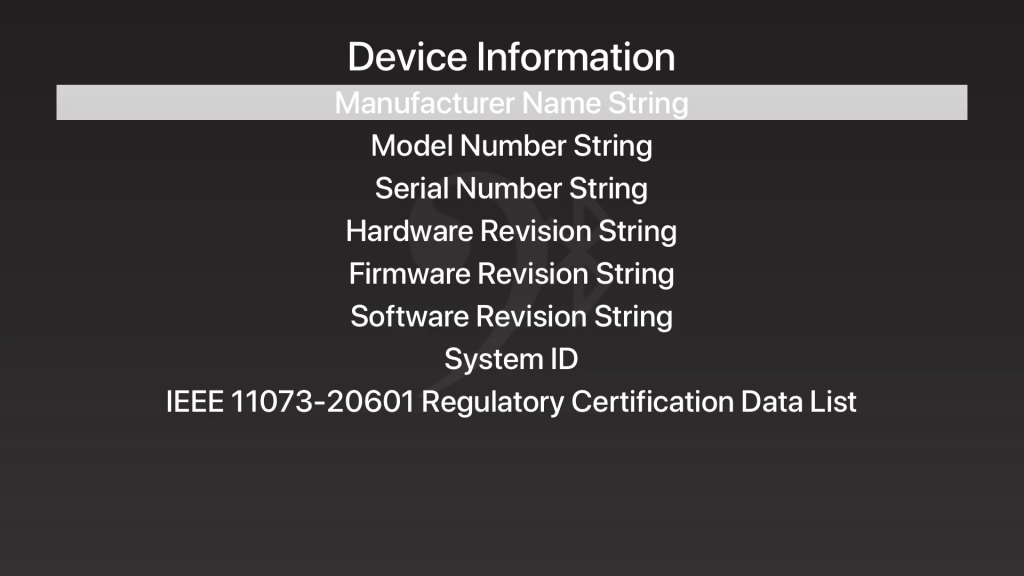
Characteristics can be read:
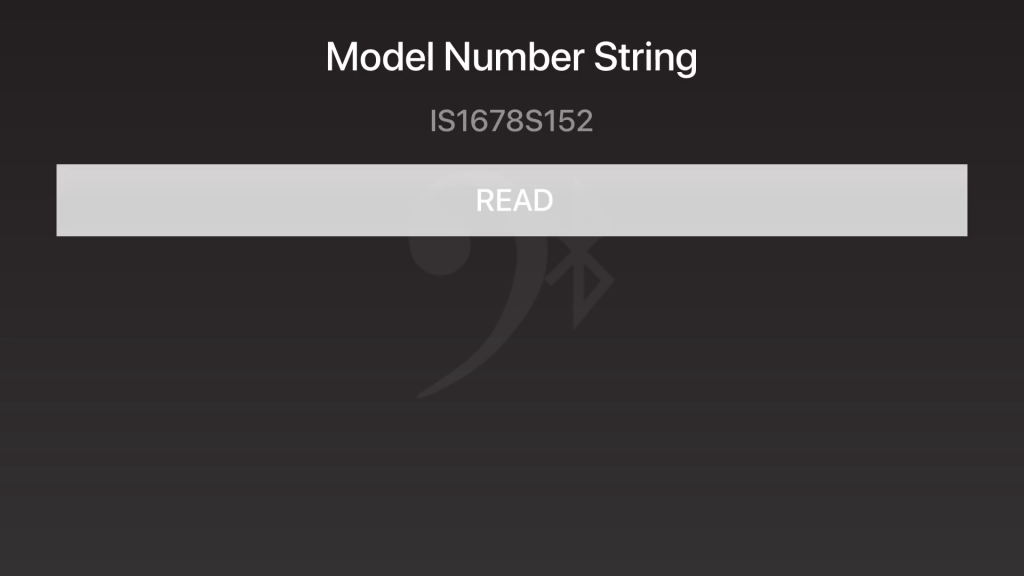
Characteristics Can Notify:
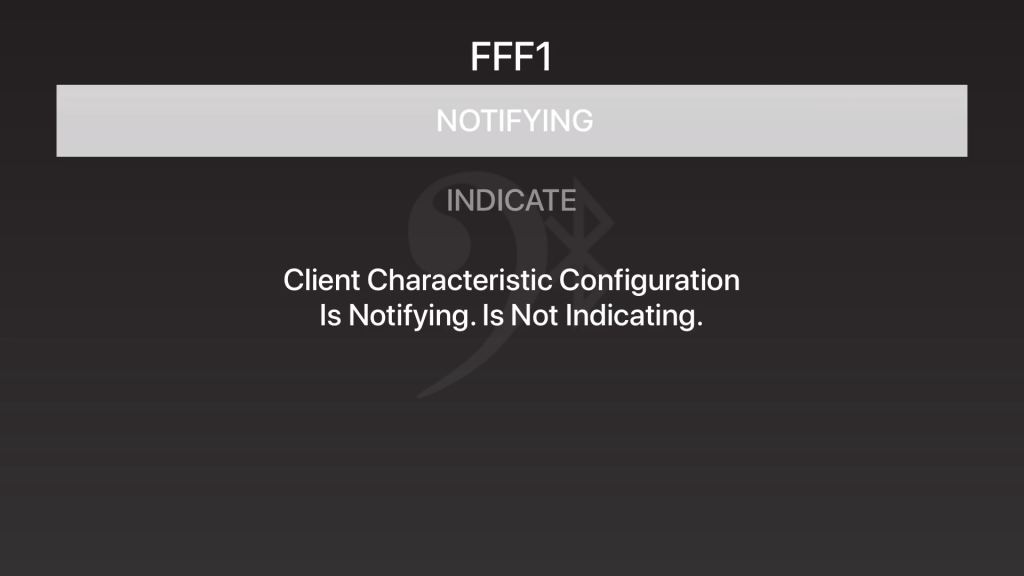
Selecting “NOTIFY” will start the Characteristic notifying.
Note that Descriptors are listed, as well as the Properties. In the above example, the Client Characteristic Configuration Descriptor is Shown.
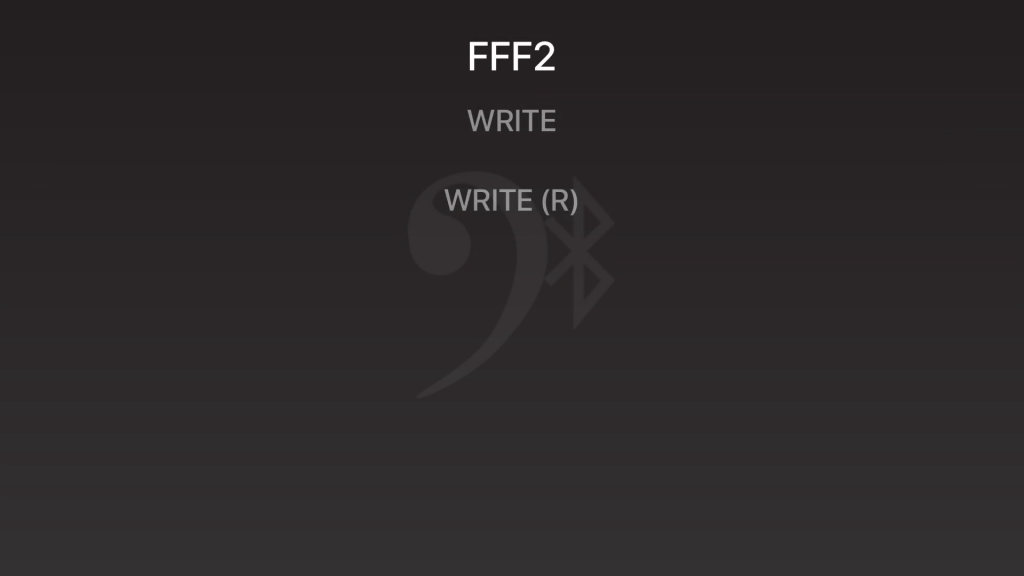
Characteristics can be written (but we don’t support write). For the TV app, you will only be shown disabled WRITE Property indicators:
The Mac App
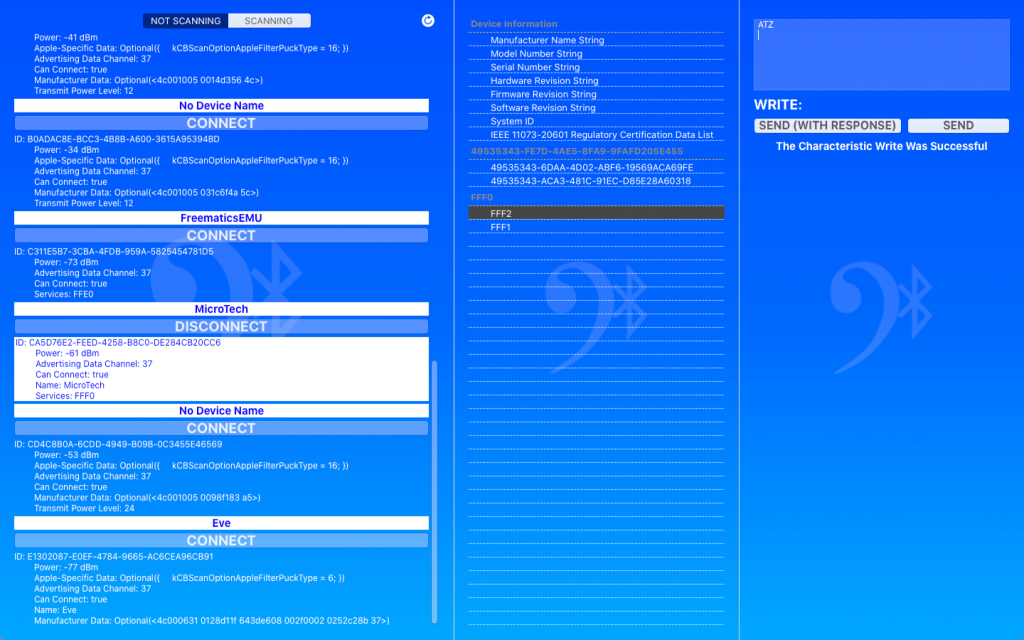
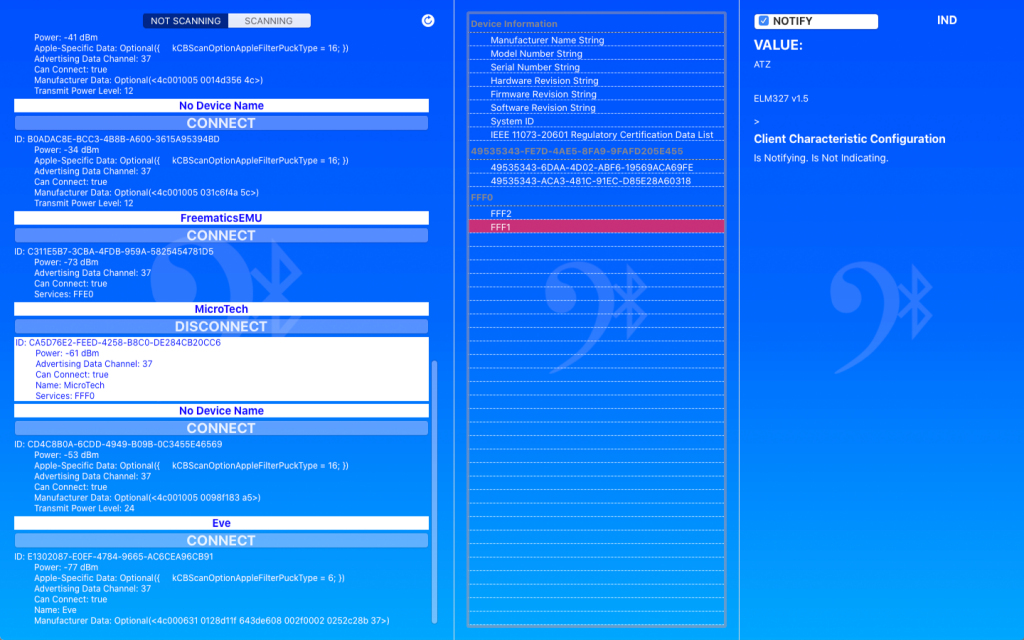
The Mac app has some powerful capabilities, but displays them differently from the above-listed apps. It uses a “cascading screens” method:
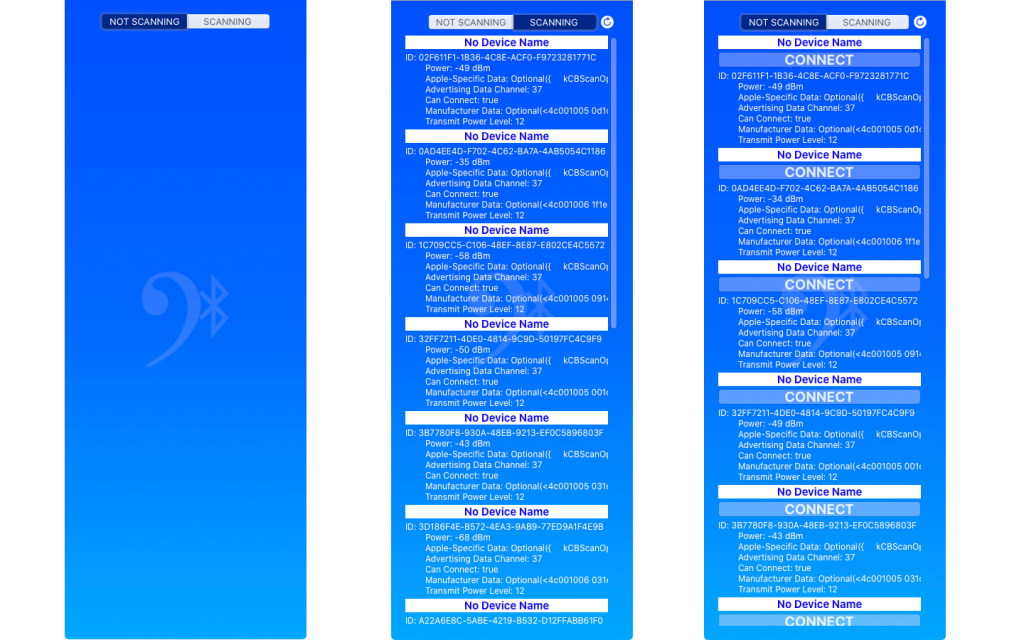
Like the TV app, you need to stop scanning, in order to select a device. If you do that, “CONNECT” buttons appear for Peripherals that allow connection:
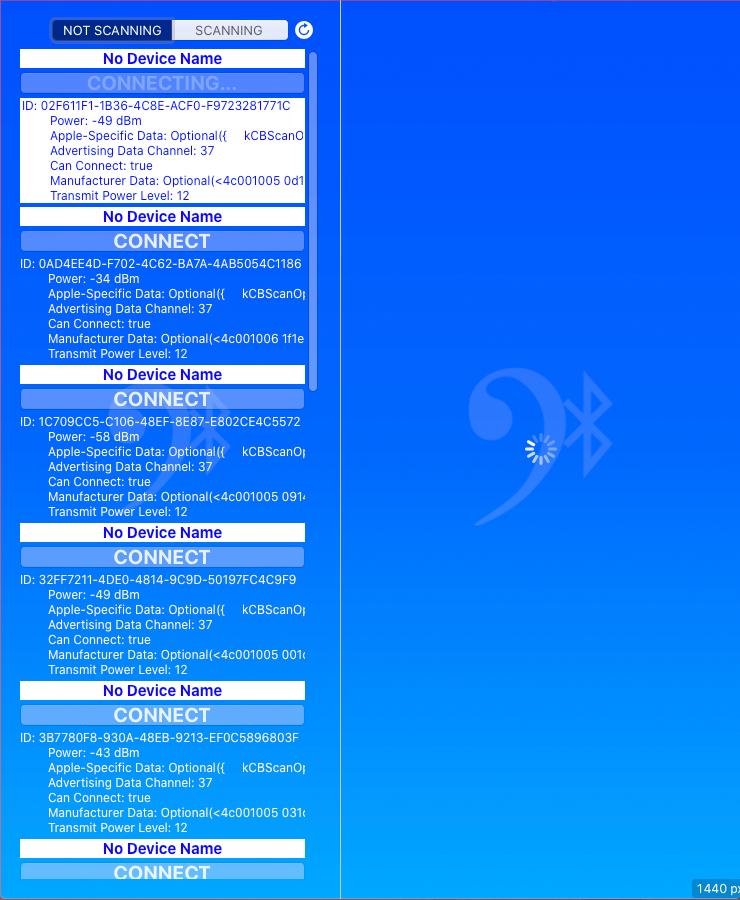
When we connect to a Device, we select the “CONNECT” button for that device (which will not be shown for devices that cannot be connected), and a screen will appear to the right. Until it is populated with Services, a busy indicator will be shown:
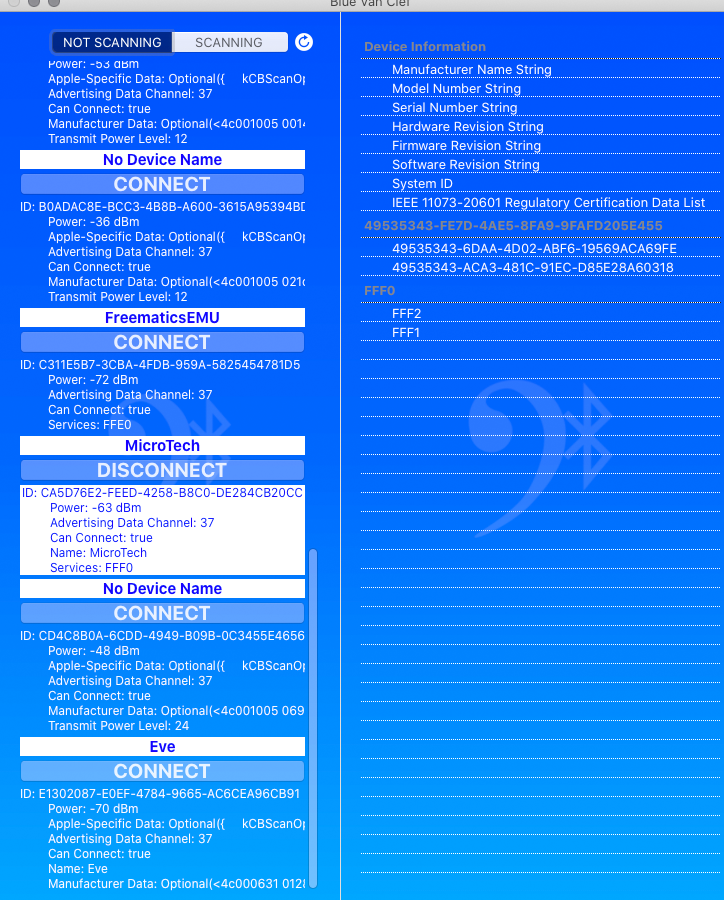
Once connected, a list of Services, and their Characteristics, will be available in the right screen:
Selecting a Characteristic will open a third screen, on the right, with details about that Characteristic.
It is possible to send text to devices with the Mac:
